This post contains affiliate links. As an Amazon Associate, I earn from qualifying purchases. This comes at no extra cost to you.
Coconut cloud dessert
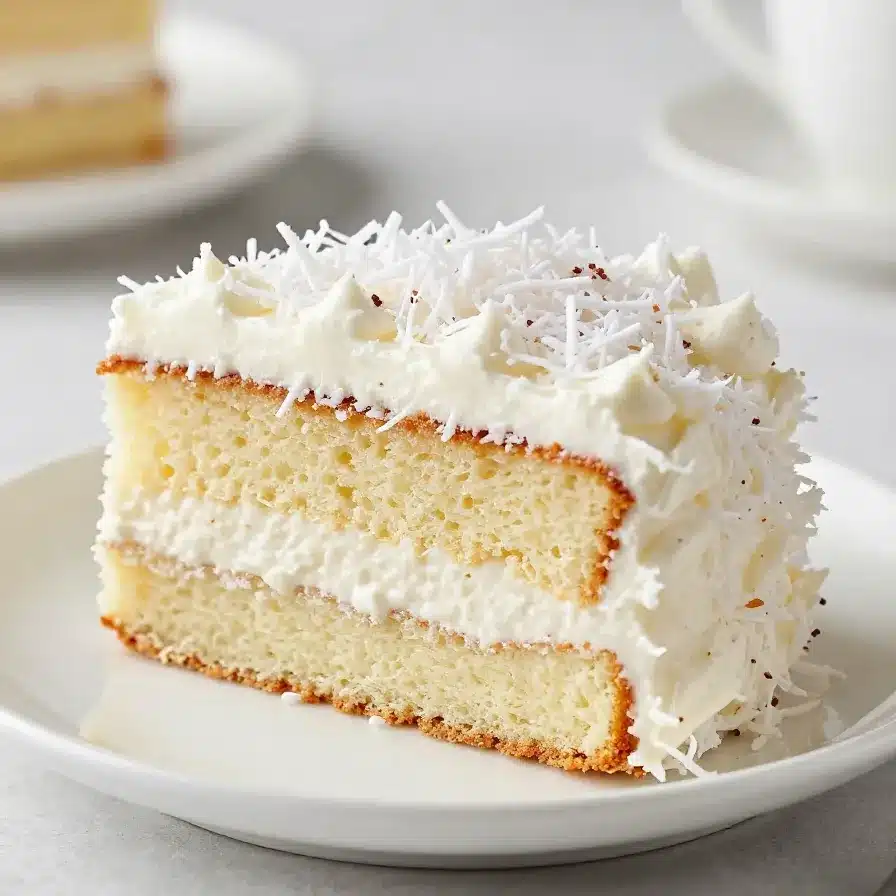
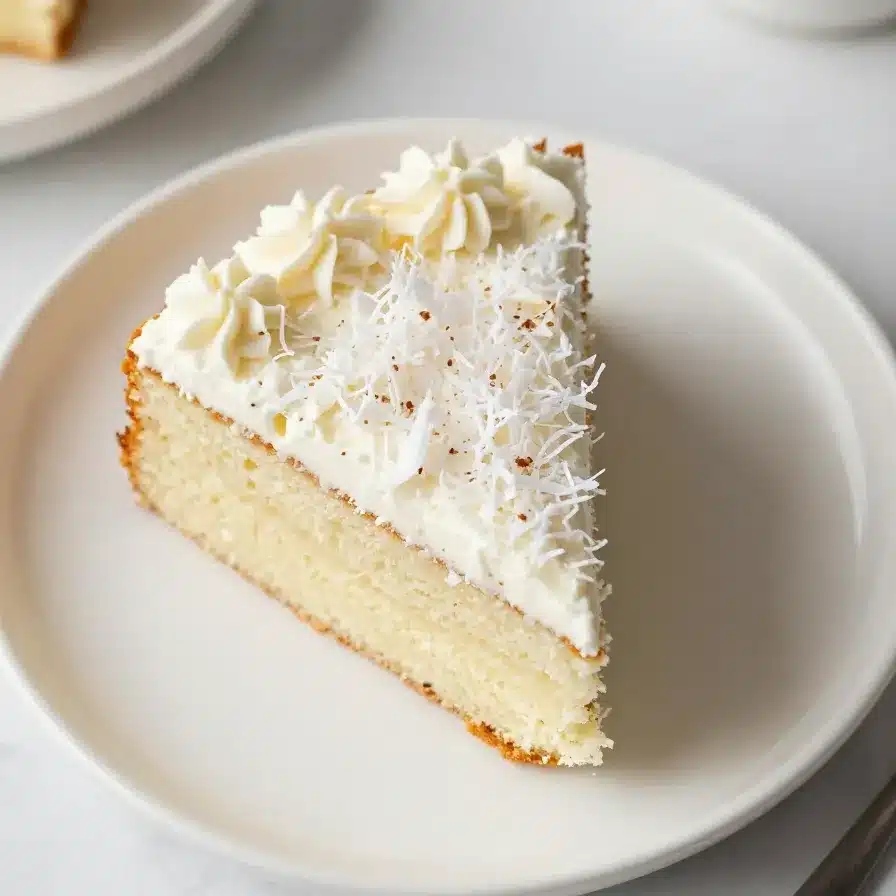
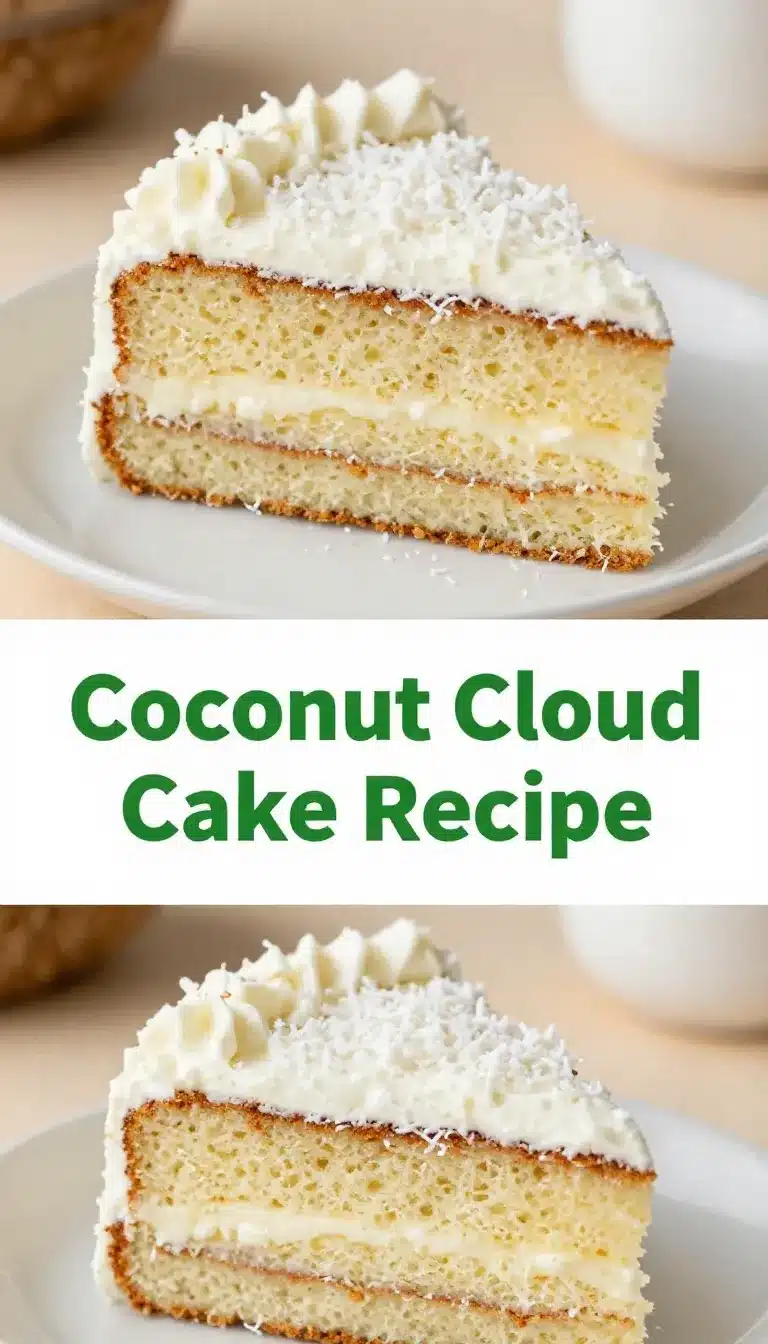
Coconut cloud dessert is a soft and fluffy cake made with rich coconut milk, shredded coconut, and layers of whipped cream frosting. Ready in just 60 minutes, this recipe yields 12 slices of a delightfully tropical treat. The toasted coconut garnish adds a satisfying crunch to every bite.
As a passionate food blogger, I often find myself craving a dessert that feels as light as air yet tastes decadently rich—you’ll find that perfect balance in this Coconut Cloud Cake.
Table of Contents
- What Makes Coconut Cloud Cake Special?
- What Ingredients Do You Need for Coconut Cloud Cake?
- How Do You Make Coconut Cloud Cake Step by Step?
- Frequently Asked Questions About Coconut Cloud Cake
- Serving Ideas and Pairings for Coconut Cloud Cake
- How to Store and Reheat Coconut Cloud Cake
- Common Mistakes to Avoid When Making Coconut Cloud Cake
What Makes Coconut Cloud Cake Special?
Coconut Cloud Cake stands out for its airy texture, tropical flavor, and indulgent whipped cream frosting. It’s a perfect dessert for special occasions or anytime you crave a light yet satisfying treat.
- **Soft and Moist Base**: The combination of coconut milk and shredded sweetened coconut ensures a tender and moist crumb.
- **Whipped Cream Frosting**: Light and airy, it balances the sweetness of the cake perfectly.
- **Toasted Coconut Garnish**: Adds a delightful crunch and a burst of nutty flavor.
- **Simple Ingredients**: Most ingredients are pantry staples, making it an easy recipe to prepare.
What Ingredients Do You Need for Coconut Cloud Cake?
This recipe uses a mix of essential pantry staples and coconut-focused ingredients to deliver its tropical flavor. Each component contributes to the cake’s soft texture and light taste.
- 2 1/4 cups all-purpose flour
- 2 1/2 teaspoons baking powder
- 1/2 teaspoon salt
- 3/4 cup unsalted butter, softened
- 2 cups granulated sugar
- 4 large eggs, at room temperature
- 1 teaspoon vanilla extract
- 1 teaspoon coconut extract
- 1 cup unsweetened coconut milk
- 1 cup shredded sweetened coconut
- 1 1/2 cups heavy whipping cream
- 3 tablespoons powdered sugar
- 1 teaspoon vanilla extract
- 1 cup toasted shredded coconut (for garnish)
Key ingredients like coconut milk and shredded coconut create the cake’s signature tropical aroma and flavor, while the whipped cream frosting provides an irresistible lightness.
How Do You Make Coconut Cloud Cake Step by Step?
Making Coconut Cloud Cake is straightforward, with simple steps that create an impressive dessert. Follow these instructions for a foolproof result.
Step 1 — Prepare the Cake Pans
Preheat your oven to 350°F (175°C). Grease and flour two 9-inch round cake pans, or line them with parchment paper.
Step 2 — Mix Dry Ingredients
In a medium bowl, whisk together the flour, baking powder, and salt. Set the mixture aside.
Step 3 — Cream Butter and Sugar
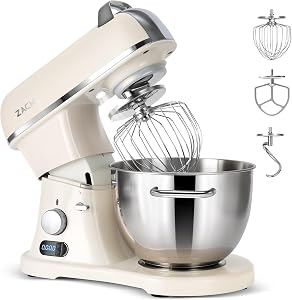
In a large bowl, use an electric mixer to cream the butter and sugar until light and fluffy, about 3-4 minutes.
Step 4 — Combine Wet Ingredients
Add the eggs one at a time, beating well after each addition. Mix in the vanilla extract and coconut extract.
Step 5 — Create the Batter
Gradually add the dry ingredients to the wet ingredients in three additions, alternating with the coconut milk. Begin and end with the dry ingredients and mix until just combined.
Step 6 — Add Shredded Coconut
Fold in the shredded sweetened coconut gently using a spatula.
Step 7 — Bake the Cakes
Divide the batter evenly between the prepared cake pans. Smooth the tops with a spatula and bake for 25-30 minutes, or until a toothpick inserted into the center comes out clean.
Step 8 — Cool and Frost
Let the cakes cool in their pans for 10 minutes before transferring them to a wire rack to cool completely. Prepare the whipped cream frosting by beating the heavy whipping cream, powdered sugar, and vanilla extract until stiff peaks form. Frost both layers of the cake and garnish with toasted coconut.
Frequently Asked Questions About Coconut Cloud Cake
Can I use a different type of milk?
Unsweetened coconut milk is essential for the flavor, but in a pinch, almond milk or regular whole milk can work as substitutes.

How do I toast shredded coconut?
Spread it evenly on a baking sheet and bake at 350°F (175°C) for 5-7 minutes, stirring occasionally, until golden brown.
Can this cake be made gluten-free?
Yes! Substitute the all-purpose flour with a 1:1 gluten-free baking mix for similar results.
How long will the cake stay fresh?
Store the cake in the refrigerator, covered, for up to 3 days. The whipped cream frosting may begin to soften after this time.
Can I freeze this cake?
Yes, freeze the unfrosted layers for up to 2 months. Wrap them tightly in plastic wrap and store in an airtight container.
Serving Ideas and Pairings for Coconut Cloud Cake
Coconut Cloud Cake pairs beautifully with tropical-inspired beverages and light sides. Here are a few ideas:
- **Mango Smoothies**: Their creamy texture complements the airy cake.
- **Pineapple Sorbet**: A refreshing option for hot days.
- **Coconut Lime Chicken**: Use it as a sweet finale after savory dishes like our coconut lime chicken.
- **Iced Green Tea**: Its subtle flavors balance the cake’s sweetness.
How to Store and Reheat Coconut Cloud Cake
Proper storage ensures the cake remains fresh and flavorful. Store it in an airtight container in the fridge for up to 3 days. The cake’s whipped cream frosting stays light and airy when chilled.
To freeze unfrosted layers, wrap them tightly in plastic wrap and aluminum foil before placing them in a freezer-safe bag. Thaw at room temperature before frosting.
For best results, serve the cake chilled directly from the fridge. Avoid microwaving, as the whipped cream frosting will melt.
Common Mistakes to Avoid When Making Coconut Cloud Cake
Creating the perfect Coconut Cloud Cake is easy if you steer clear of these common pitfalls:
- **Overmixing the Batter**: This can result in a dense cake. Mix until just combined for a light texture.
- **Skipping the Coconut Toasting Step**: Toasted coconut adds depth and crunch. Take the extra few minutes to do this step!
- **Not Using Room Temperature Ingredients**: Cold butter or eggs can cause the batter to curdle. Allow all ingredients to come to room temperature before mixing.
Coconut Cloud Cake
Ingredients
Equipment
Method
- Preheat your oven to 350°F (175°C). Grease and flour two 9-inch round cake pans, or line them with parchment paper.
- In a medium bowl, whisk together the flour, baking powder, and salt. Set aside.
- In a large bowl, use an electric mixer to cream the butter and sugar together until light and fluffy, about 3-4 minutes.
- Add the eggs one at a time, beating well after each addition. Mix in the vanilla extract and coconut extract.
- Gradually add the dry ingredients to the wet ingredients in three additions, alternating with the coconut milk, beginning and ending with the dry ingredients. Mix until just combined.
- Fold in the shredded sweetened coconut gently with a spatula.
- Divide the batter evenly between the prepared cake pans and smooth the tops with a spatula.
- Bake in the preheated oven for 25-30 minutes, or until a toothpick inserted into the center comes out clean.
- Let the cakes cool in their pans for 10 minutes before transferring them to a wire rack to cool completely.
- While the cakes cool, prepare the whipped cream frosting. In a large mixing bowl, beat the heavy whipping cream, powdered sugar, and vanilla extract together until stiff peaks form. Be careful not to overmix.
- Once the cakes are completely cool, place one cake layer on a serving plate. Spread a generous layer of whipped cream frosting over the top.
- Place the second cake layer on top and frost the top and sides of the cake with the remaining whipped cream frosting.
- Sprinkle the toasted shredded coconut evenly over the top and sides of the cake as a garnish.
- Refrigerate the cake for at least 1 hour before serving to allow the flavors to meld and the frosting to set.
Notes
Loved this recipe? Save it to your favorite Pinterest board so you can easily find it later! ✨