
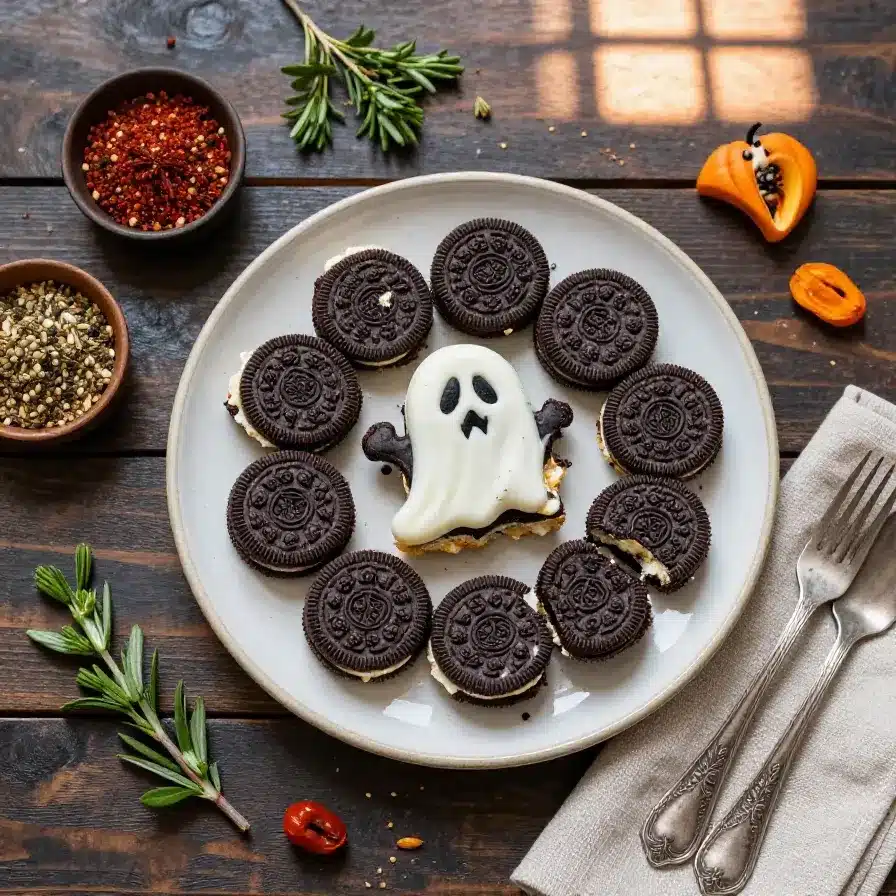
Spooky Halloween Oreo Bark is a fun, no-bake dessert made with creamy white chocolate, crunchy chopped Oreos, vibrant candy melts, and Halloween-themed sprinkles. Ready in just 15 minutes of prep and 1 hour of set time, this festive treat yields enough to share with family and friends. Perfectly spooky yet simple to create, this bark is a must-have for Halloween parties or seasonal gifting.
As someone who thrives on the balance of presentation and flavor, this recipe embodies everything I love about making themed treats. It’s eye-catching, delicious, and incredibly satisfying to break apart and share.
Table of Contents
- Why should you make Spooky Halloween Oreo Bark?
- What ingredients do you need for Spooky Halloween Oreo Bark?
- How do you make Spooky Halloween Oreo Bark step by step?
- Frequently Asked Questions About Spooky Halloween Oreo Bark
- Are there any easy ingredient substitutions?
- How to store Spooky Halloween Oreo Bark?
- What are common mistakes to avoid when making it?
Why should you make Spooky Halloween Oreo Bark?
Spooky Halloween Oreo Bark is a quick, festive treat that’s perfect for Halloween parties, gifting, or enjoying with family. It’s colorful, fun to make, and requires minimal effort, making it a crowd favorite.
- Quick and easy: The recipe is no-bake and takes only 15 minutes to assemble before it sets. Ideal for busy schedules or last-minute entertaining.
- Customizable: You can adapt the sprinkles and candy melt colors to fit any Halloween party theme.
- Kid-friendly: This recipe is perfect for little helpers to get involved, from sprinkling toppings to swirling candy melts.
- Visually striking: The spooky streaks of color and sprinkles create a dessert that doubles as decoration.
What ingredients do you need for Spooky Halloween Oreo Bark?
The ingredients for Spooky Halloween Oreo Bark are simple, colorful, and festive, ensuring every bite tastes as good as it looks. Here’s exactly what you’ll need:
- 2 cups white chocolate chips
- 10 Oreo cookies, roughly chopped
- 1/4 cup orange candy melts
- 1/4 cup purple candy melts
- 1/4 cup black candy melts
- 1/4 cup Halloween-themed sprinkles (e.g., bats, pumpkins, or ghosts)
White chocolate chips form the creamy base that ties all the toppings together, while the candy melts and sprinkles add festive flair perfect for Halloween.
How do you make Spooky Halloween Oreo Bark step by step?
Making Spooky Halloween Oreo Bark is simple and requires minimal equipment. Follow these steps for a vibrant, spooky treat in no time.
Step 1 — Prepare your baking sheet
Line a baking sheet with parchment paper and set it aside. This will make it easy to remove the bark once it sets.
Step 2 — Melt the white chocolate
Melt the white chocolate chips in a microwave-safe bowl. Heat in 30-second intervals, stirring well after each, until smooth and fully melted.
You might also enjoy our 🎃 halloween appetizers & spooky.
Step 3 — Spread the base layer
Spread the smooth, melted white chocolate evenly onto the prepared baking sheet. Create a rectangular shape about 1/4 inch thick for the base of your bark.
Step 4 — Add chopped Oreos
Evenly sprinkle the chopped Oreo cookies across the white chocolate base. Lightly press them down so they adhere firmly to the chocolate.
Step 5 — Melt the candy melts
In separate microwave-safe bowls, melt the orange, purple, and black candy melts using the same 30-second interval method as the white chocolate. Stir until smooth.
Step 6 — Decorate the bark
Drizzle the melted candy melts over the Oreo-topped white chocolate in thin streaks. Alternate colors to create a spooky, marbled effect.
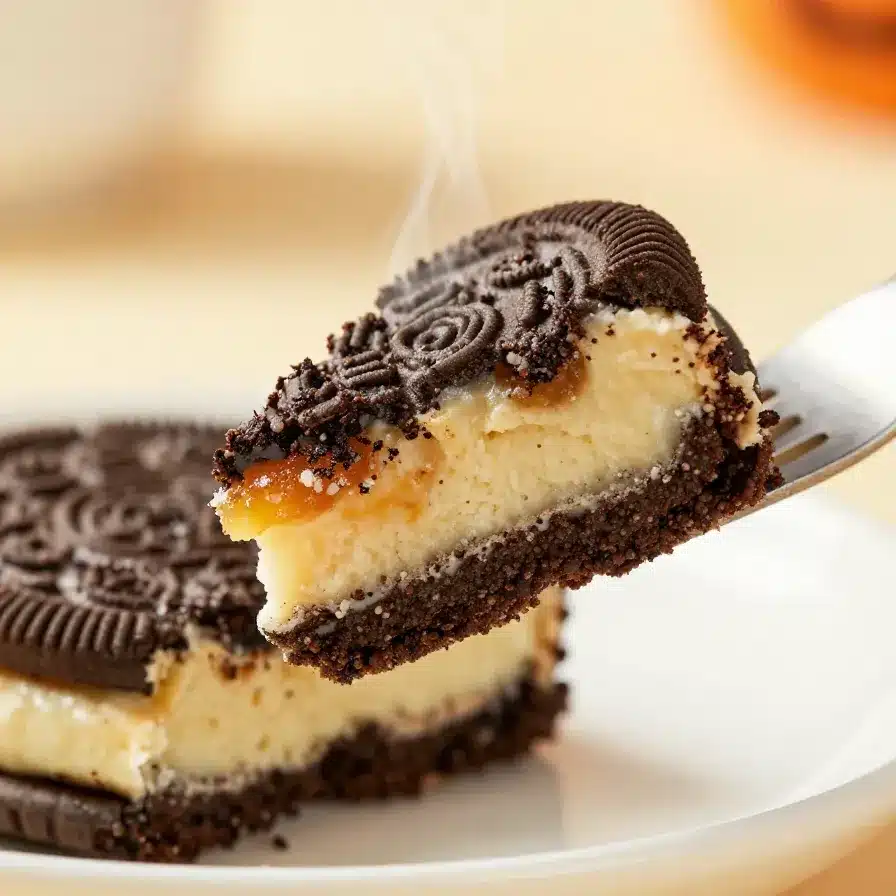
Step 7 — Add sprinkles and set the bark
Sprinkle the Halloween-themed sprinkles evenly over the surface for a festive finish. Let the bark set at room temperature for an hour or refrigerate for 30 minutes to speed up the process.
For more ideas, check out our patriotic oreo balls recipe.
Step 8 — Break into pieces
Once hardened, break the bark into irregular pieces for serving. Arrange the pieces on a platter or package them for gifting.
Frequently Asked Questions About Spooky Halloween Oreo Bark
Can I use a different type of chocolate?
Yes, you can swap white chocolate chips for milk or dark chocolate if you prefer. However, white chocolate provides the best contrast for the candy melt colors.
How should I store Spooky Halloween Oreo Bark?
Store the bark in an airtight container at room temperature for up to a week. For longer storage, keep it in the fridge for up to two weeks.
Can I use different cookies instead of Oreos?
Yes, you can substitute Oreos with similar cookies, like chocolate wafers or your favorite cream-filled variety, for a twist on the original flavor.
Can I make this recipe ahead of time?
Absolutely! Prepare the bark up to a week in advance and store it in an airtight container until ready to serve.
Looking for something similar? Try our patriotic oreo balls recipe.
How can I involve kids in making this treat?
Kids can help by sprinkling the Oreos and decorations or drizzling the candy melts for the spooky design.
Are there any easy ingredient substitutions?
Yes, you can make a few simple swaps to customize the recipe without compromising its festive charm. Here are some suggestions:
- Chocolate base: Swap white chocolate chips with milk or dark chocolate for a different flavor profile.
- Candy melts: Use different colors like green or red to create a custom look for your Halloween theme.
- Sprinkles: Replace Halloween-themed sprinkles with edible glitter or sugar pearls for a more elegant variation.
How to store Spooky Halloween Oreo Bark?
Proper storage ensures your bark stays fresh and visually appealing. Here’s how to do it:
Store the bark in an airtight container at room temperature for up to seven days. For longer storage, place it in the refrigerator, where it will remain fresh for up to two weeks without losing its texture or flavor.
If you wish to freeze it, wrap the bark in wax paper to prevent condensation, then seal it in a freezer bag. Thaw it at room temperature before serving for the best results.
What are common mistakes to avoid when making it?
To ensure your Spooky Halloween Oreo Bark turns out perfectly, avoid these common pitfalls:
- Overheating the chocolate: Melting chocolate for too long can cause it to seize. Always use 30-second intervals and stir frequently.
- Spreading the base too thin: A thin layer of white chocolate may not hold the toppings well. Stick to the recommended thickness for best results.
- Adding sprinkles too late: If the sprinkles are added after the chocolate has set, they won’t stick. Apply them before the chocolate hardens.
Spooky Halloween Oreo Bark
Ingredients
Equipment
Method
- Line a baking sheet with parchment paper and set aside.
- Melt the white chocolate chips in a microwave-safe bowl in 30-second intervals, stirring after each interval, until smooth.
- Spread the melted white chocolate evenly onto the prepared baking sheet, creating a rectangle about 1/4 inch thick.
- Sprinkle the chopped Oreo cookies evenly over the melted white chocolate, lightly pressing them in to ensure they stick.
- Melt the orange, purple, and black candy melts in separate bowls using the same microwave method as the white chocolate.
- Drizzle the melted candy melts over the Oreo-topped white chocolate in thin streaks to create a spooky design.
- Add the Halloween-themed sprinkles on top, distributing them evenly for a festive touch.
- Allow the bark to set completely at room temperature for about 1 hour, or place it in the refrigerator for 30 minutes to speed up the process.
- Once hardened, break the bark into pieces and serve.
Notes

Loved this recipe? Save it to your favorite Pinterest board so you can easily find it later! ✨