
This post contains affiliate links. As an Amazon Associate, I earn from qualifying purchases. This comes at no extra cost to you.
Spooky witch hat rolls is a playful and festive baked treat made with all-purpose flour, black olives, and a delicious cream cheese filling, shaped into whimsical witch hats. This easy Halloween recipe is ready in about 35 minutes and yields 12 charming rolls. The soft texture and spooky appearance make them a delightful addition to any Halloween celebration. I remember making these with my son, Jamie, last Halloween, and watching his eyes light up as the aroma of baking rolls filled our kitchen.
Table of Contents
- Why are these rolls so popular?
- What ingredients do you need for Spooky Witch Hat Rolls?
- How do you make them step by step?
- Frequently Asked Questions About Spooky Witch Hat Rolls
- How should you store these treats?
- Perfect Pairings
- A Peek Into Their Origin
- Easy Ingredient Swaps
Why are these rolls so popular?
Spooky Witch Hat Rolls are popular due to their festive appearance and delicious combination of flavors, perfect for Halloween events. They’re easy to make and uniquely engaging for both kids and adults.
- Perfect for Halloween: These rolls are shaped like witch hats, making them an iconic and fun addition to any Halloween gathering.
- Flavorful and Filling: The combination of cream cheese and mozzarella provides a rich, savory taste that satisfies.
- Simple to Prepare: With straightforward ingredients and steps, these rolls can be whipped up in under 40 minutes.
- Interactive for Kids: Kids love helping shape the witch hats, making it a fun family activity in the kitchen.
What ingredients do you need for Spooky Witch Hat Rolls?
This spooky treat requires basic pantry staples and a few special additions like olives to create a mischievously tasty bite.
- 2 cups all-purpose flour
- 1 packet (2 1/4 teaspoons) active dry yeast
- 1/2 cup warm water (110°F)
- 1/4 cup sugar
- 1/4 cup vegetable oil
- 1 teaspoon salt
- 1 large egg
- 1/2 cup black olives, pitted and sliced
- 1/2 cup grated mozzarella cheese
- 1/4 cup cream cheese, softened
- 1/4 teaspoon garlic powder
- Black food coloring (optional)
- Edible green glitter or sprinkles (for decoration)
The use of black olives not only enhances the witchy look but adds a savory contrast to the creamy filling.
How do you make them step by step?
Making these whimsical rolls involves creating a dough, shaping it into cones, and filling them to resemble witch hats. The result is both spooky and delicious.
Step 1 — Activate the Yeast
In a small bowl, combine warm water, yeast, and sugar. Let it sit for about 5-10 minutes until frothy.
Step 2 — Form the Dough
In a large mixing bowl, combine the flour and salt. Add the yeast mixture, vegetable oil, and egg. Mix until a dough forms.
Step 3 — Knead and Rise
Knead the dough on a floured surface for about 5-7 minutes until smooth. Place it in a greased bowl, cover, and let it rise in a warm place for about 1 hour or until doubled in size.
Step 4 — Shape the Witch Hats
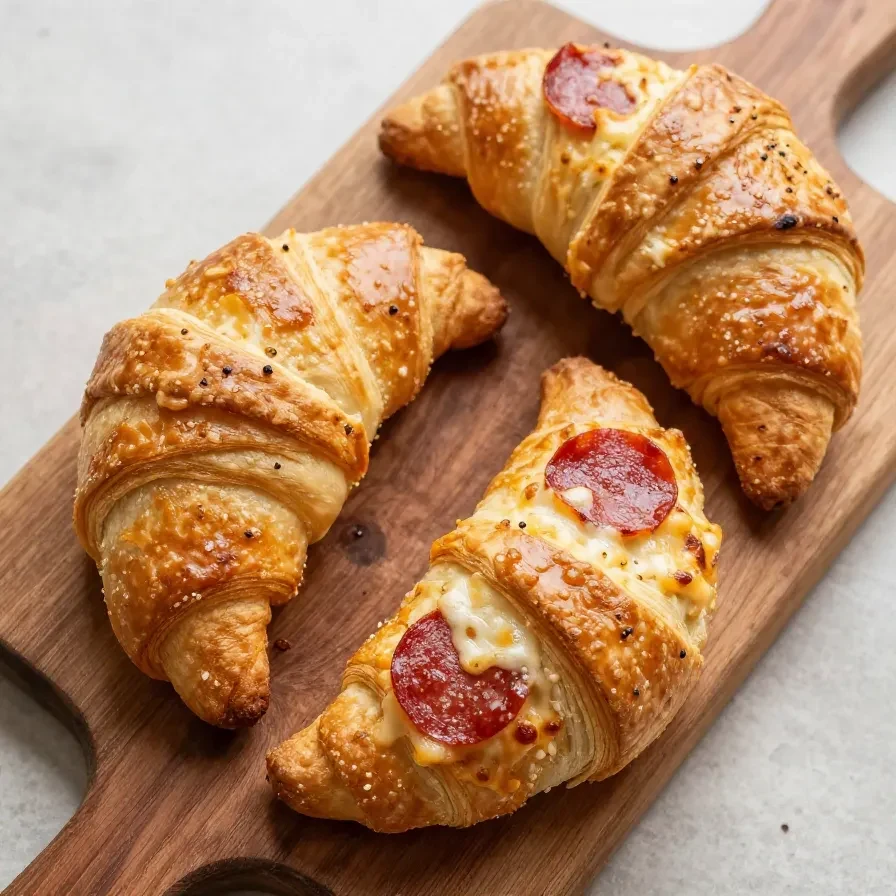
Once the dough has risen, punch it down and divide it into small balls (about the size of a golf ball). Shape each ball into a cone to form the witch hats. Place them on a baking sheet lined with parchment paper.


Step 5 — Add the Filling
In a small bowl, mix the cream cheese with garlic powder and add black food coloring if desired for a spooky effect. Using your finger or a small spoon, create a small indentation at the top of each cone. Fill each indentation with a teaspoon of the cream cheese mixture, and top with sliced black olives to resemble a witch’s hat buckle.
Step 6 — Bake and Decorate
Bake in the preheated oven at 375°F (190°C) for 15-20 minutes or until golden brown. Once out of the oven, sprinkle with edible green glitter or sprinkles for a festive touch. Serve warm and enjoy your spooky witch hat rolls!
Frequently Asked Questions About Spooky Witch Hat Rolls
Can you make them ahead of time?
Yes, you can prepare the dough and shape the rolls a day ahead. Store them in the fridge and bake fresh when needed.
What if I don’t have black food coloring?
Black food coloring is optional. The rolls will still look spooky without it, but feel free to use natural alternatives like squid ink.
How can I make them gluten-free?
Swap the all-purpose flour with a gluten-free flour blend. Ensure all other ingredients are certified gluten-free.
How do you keep them warm for a party?
To keep them warm for a party, cover them with foil and place them in a low-temperature oven (around 200°F).
How should you store these treats?
After baking, allow the rolls to cool completely. Store them in an airtight container in the refrigerator for up to 3 days. To freeze, wrap each roll tightly in plastic wrap and place them in a freezer-safe bag for up to 2 months. Reheat them in an oven at 325°F until warmed through.
Perfect Pairings
For an enhanced spooky spread, serve these rolls with our spooky halloween deviled eggs. A bowl of creamy tomato soup complements the cheesiness of the rolls. Pair with a fresh green salad to balance the richness. For a complete Halloween feast, include our spooky charcuterie board.
A Peek Into Their Origin
Spooky Witch Hat Rolls, although a modern creation, draw inspiration from traditional bread-making with a whimsical twist. Their unique shape is a nod to classic Halloween lore, bringing a bit of fun and fright to the table.
Easy Ingredient Swaps
If you prefer, use whole wheat flour for a denser, nuttier roll. Substitute the mozzarella cheese with cheddar for a sharper flavor. Replace black olives with sliced pepperoni for a different topping variety that still maintains the spooky look.
Spooky Witch Hat Rolls
Ingredients
Equipment
Method
- In a small bowl, combine warm water, yeast, and sugar. Let it sit for about 5-10 minutes until frothy.
- In a large mixing bowl, combine the flour and salt. Add the yeast mixture, vegetable oil, and egg. Mix until a dough forms.
- Knead the dough on a floured surface for about 5-7 minutes until smooth. Place it in a greased bowl, cover, and let it rise in a warm place for about 1 hour or until doubled in size.
- Preheat your oven to 375°F (190°C).
- Once the dough has risen, punch it down and divide it into small balls (about the size of a golf ball).
- Shape each ball into a cone to form the witch hats. Place them on a baking sheet lined with parchment paper.
- In a small bowl, mix the cream cheese with garlic powder and add black food coloring if desired for a spooky effect.
- Using your finger or a small spoon, create a small indentation at the top of each cone. Fill each indentation with a teaspoon of the cream cheese mixture, and top with sliced black olives to resemble a witch's hat buckle.
- Bake in the preheated oven for 15-20 minutes or until golden brown.
- Once out of the oven, sprinkle with edible green glitter or sprinkles for a festive touch. Serve warm and enjoy your spooky witch hat rolls!
Notes

Loved this recipe? Save it to your favorite Pinterest board so you can easily find it later! ✨