
This post contains affiliate links. As an Amazon Associate, I earn from qualifying purchases. This comes at no extra cost to you.
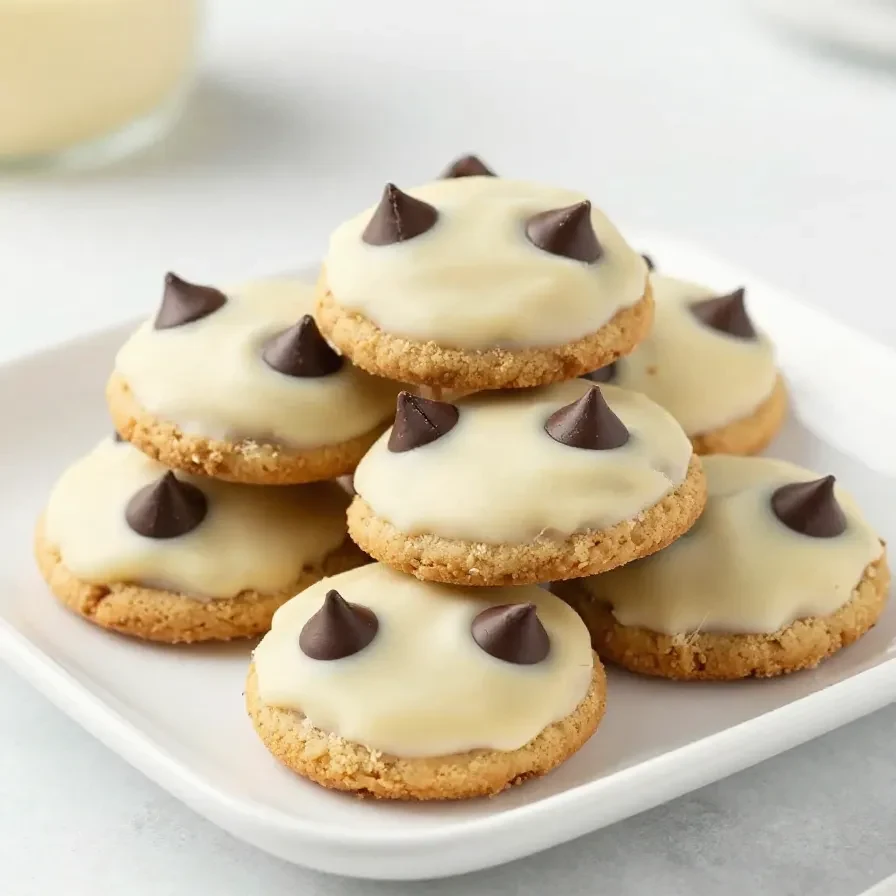
Nutter Butter Ghosts is a whimsical Halloween treat made with Nutter Butter cookies, creamy white chocolate, and decorative mini chocolate chips, ready in 20 minutes. This delightful recipe yields 12 spooky cookies, perfect for adding a festive touch to any celebration. Their crunchy texture combined with the smooth white chocolate makes them both playful and delicious.
I remember making these with my niece last Halloween; her giggles as we decorated each ghost were the highlight of our day. Whether you’re planning a party or simply enjoying a crafting session with your family, these ghostly cookies are sure to be a hit.
Table of Contents
- Why are Nutter Butter Ghosts so popular?
- What ingredients do you need for Nutter Butter Ghosts?
- How do you make Nutter Butter Ghosts step by step?
- Frequently Asked Questions About Nutter Butter Ghosts
- Common Mistakes to Avoid
- Expert Tips and Pro Shortcuts
- History of Nutter Butter Ghosts
- Meal Prep, Storage, and Reheating
Why are Nutter Butter Ghosts so popular?
Nutter Butter Ghosts are popular because they are easy to make, visually appealing, and perfect for Halloween gatherings. They combine the fun of Halloween with the irresistible taste of cookies and chocolate.
- Easy Preparation: With just five ingredients and minimal prep, anyone can create these fun treats.
- Festive Appearance: Their ghostly design is perfect for Halloween, making them a favorite for parties.
- Kid-Friendly: The easy steps make it a great activity for kids, enhancing their holiday excitement.
- Perfect Balance: The crunch of the cookie pairs excellently with the creamy white chocolate.
What ingredients do you need for Nutter Butter Ghosts?
The key ingredients for Nutter Butter Ghosts include Nutter Butter cookies, white chocolate chips, vegetable oil, mini chocolate chips, and black decorating icing.
- 1 package Nutter Butter cookies
- 1 cup white chocolate chips
- 1 tablespoon vegetable oil
- 1 cup mini chocolate chips
- 1 tube black decorating icing
The white chocolate chips provide a creamy coating, perfect for creating the ghostly appearance of these cookies.
How do you make Nutter Butter Ghosts step by step?
To make Nutter Butter Ghosts, simply dip cookies in melted white chocolate, add chocolate chips for eyes, and draw a mouth using black icing. Follow these steps for a fun culinary craft.
Step 1 — Prepare the Baking Sheet
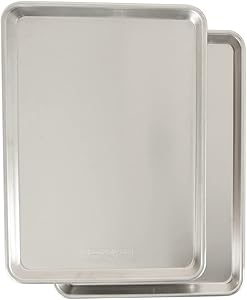
Line a baking sheet with parchment paper to prevent sticking and ensure easy cleanup.
Step 2 — Melt the Chocolate
In a microwave-safe bowl, combine white chocolate chips and vegetable oil. Heat in the microwave in 30-second intervals, stirring in between, until melted and smooth.
Step 3 — Dip the Cookies
Dip each Nutter Butter cookie halfway into the melted chocolate, allowing excess chocolate to drip off.
You might also enjoy our the best creamy garlic butter.
Step 4 — Set the Chocolate
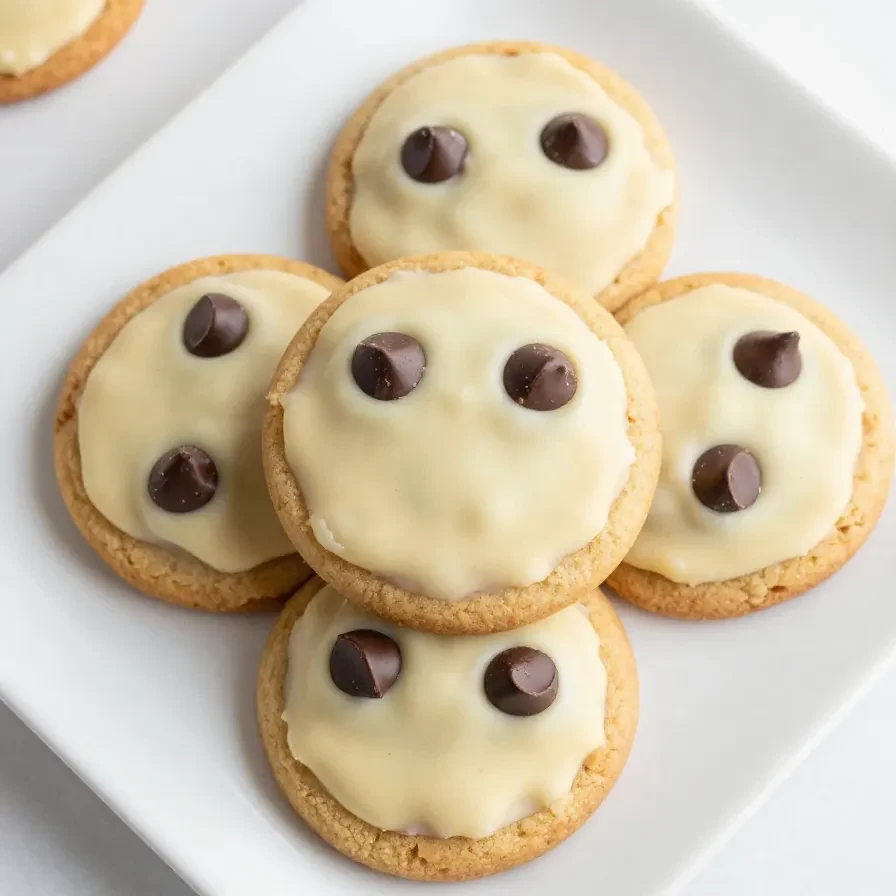
Place the dipped cookies on the prepared baking sheet and let the chocolate set for a few minutes.
Step 5 — Add the Eyes
Using the mini chocolate chips, press two into the top of each cookie to create eyes.
Step 6 — Draw the Mouth
Once the chocolate has set, use the black decorating icing to draw a mouth on each ghost.
Step 7 — Final Touches
Let the icing dry completely before serving your spooky treats.
Frequently Asked Questions About Nutter Butter Ghosts
Can I use a different type of cookie?
Nutter Butter cookies are essential for their unique shape, but you can experiment with similar-shaped cookies for variety.
How long do Nutter Butter Ghosts last?
They can last up to a week when stored in an airtight container at room temperature.
For more ideas, check out our slow cooker garlic butter beef.
What if I don’t have black decorating icing?
You can substitute with melted dark chocolate for a similar effect.
Do I need special tools to make these?
No special tools are required; basic kitchen equipment like a microwave and baking sheet will suffice.
Are these too sweet?
The sweetness is balanced by the peanut butter in the cookies, offering a delightful treat without being overwhelming.
Common Mistakes to Avoid
Ensure the chocolate is fully melted and smooth; any lumps can make coating difficult. Also, avoid overheating the chocolate, as it can burn quickly.
Allowing the ghosts to set on a non-stick surface prevents sticking and maintains their ghostly shape.
Expert Tips and Pro Shortcuts
Use a small spoon to drizzle chocolate on hard-to-coat areas. This ensures even coverage and reduces mess.
Looking for something similar? Try our the best creamy garlic butter.
To speed up setting, place the baking sheet in the refrigerator for a few minutes. This helps the chocolate firm up faster.
For a spooky twist, experiment with different types of decorating icing to create unique facial expressions on the ghosts.
History of Nutter Butter Ghosts
Nutter Butter Ghosts have become a modern Halloween classic, popularized by the ease of their preparation and thematic charm. Their playful design and nostalgia-inducing flavor make them a favorite among both kids and adults during the spooky season.
This recipe reflects the evolution of themed treats, where creativity meets simplicity, capturing the spirit of Halloween in every bite.
Meal Prep, Storage, and Reheating
Store Nutter Butter Ghosts in an airtight container at room temperature to maintain freshness for up to a week. For longer storage, place them in the fridge, where they can last up to two weeks.
Freezing is an option; just ensure they’re well-sealed to prevent moisture from affecting the texture. To enjoy, allow the ghosts to come to room temperature naturally, preserving their delightful crunch and smooth chocolate coating.
Nutter Butter Ghosts
Ingredients
Equipment
Method
- Line a baking sheet with parchment paper.
- In a microwave-safe bowl, combine the white chocolate chips and vegetable oil. Heat in the microwave in 30-second intervals, stirring in between, until melted and smooth.
- Dip each Nutter Butter cookie halfway into the melted chocolate, allowing excess chocolate to drip off.
- Place the dipped cookies on the prepared baking sheet and let the chocolate set for a few minutes.
- Using the mini chocolate chips, press two into the top of each cookie to create eyes.
- Once the chocolate has set, use the black decorating icing to draw a mouth on each ghost.
- Let the icing dry completely before serving.
Notes
Loved this recipe? Save it to your favorite Pinterest board so you can easily find it later! ✨