
This post contains affiliate links. As an Amazon Associate, I earn from qualifying purchases. This comes at no extra cost to you.
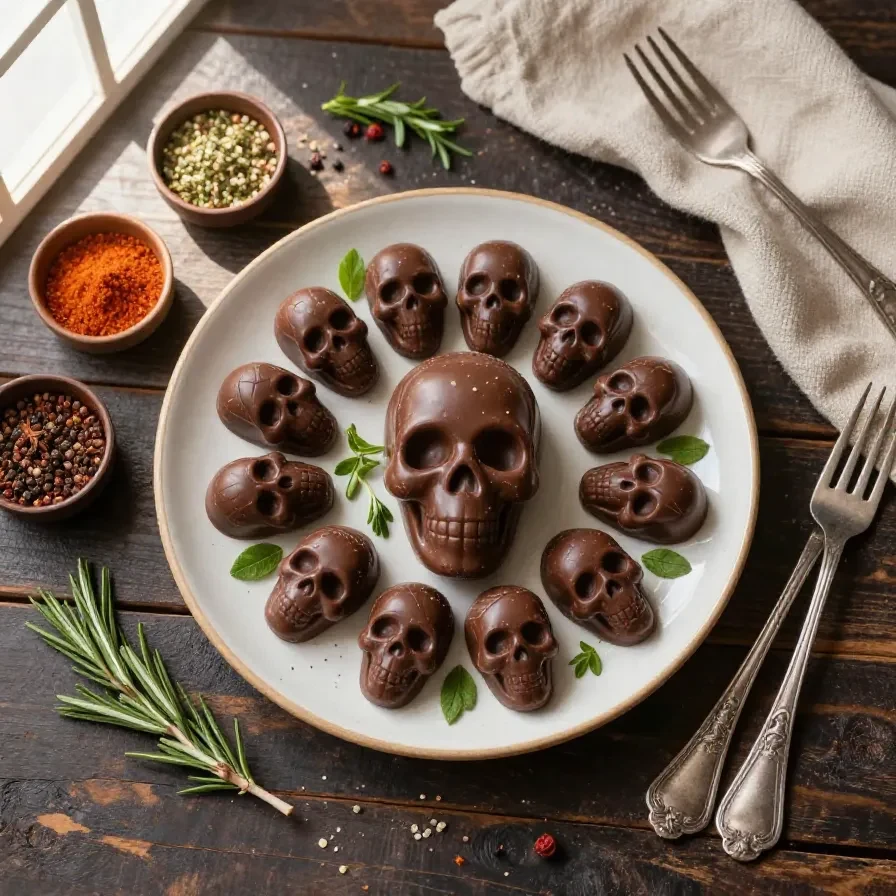
Mini chocolate skulls are a delightful treat made with all-purpose flour, cocoa powder, and chocolate chips, ready in just under 30 minutes. This easy recipe yields 12 fun and festive mini skulls, perfect for Halloween festivities. Rich in chocolate flavor and topped with candy eyes, they offer a playful twist that kids and adults can both enjoy. I still remember the first time Alex and I whipped up these spooky treats, and they quickly became a family favorite.
Table of Contents
- Why are Mini Chocolate Skulls special?
- What ingredients do you need for Mini Chocolate Skulls?
- How do you make Mini Chocolate Skulls step by step?
- Frequently Asked Questions About Mini Chocolate Skulls
- Expert Tips for Perfect Mini Chocolate Skulls
- The Origins of Mini Chocolate Skulls
- How to Store and Reheat Mini Chocolate Skulls
Why are Mini Chocolate Skulls special?
Mini chocolate skulls are special because they combine a rich chocolate flavor with a festive design, making them ideal for spooky occasions. Their bite-sized form makes them a hit at parties, ensuring easy serving and quick consumption.
- Festive Appearance: With their skull shapes and candy eyes, these treats are perfect for Halloween celebrations.
- Rich Flavor: The combination of cocoa powder and chocolate chips ensures a deep chocolate taste in every bite.
- Easy to Make: The recipe requires simple ingredients and minimal preparation time, making it accessible for all skill levels.
- Kid-Friendly: Children enjoy the playful design and the opportunity to help decorate with candy eyes.
What ingredients do you need for Mini Chocolate Skulls?
To make mini chocolate skulls, you’ll need basic baking ingredients such as flour, cocoa powder, and sugar, along with some fun extras like candy eyes. Here’s the full list to ensure your skulls come out perfect every time.
- 1 cup all-purpose flour
- 1/2 cup unsweetened cocoa powder
- 1/2 cup granulated sugar
- 1/2 teaspoon baking powder
- 1/4 teaspoon baking soda
- 1/4 teaspoon salt
- 1/4 cup unsalted butter, softened
- 1/2 cup milk
- 1 large egg
- 1 teaspoon vanilla extract
- 1/2 cup chocolate chips
- Candy eyes (for decoration)
The unsweetened cocoa powder is key to achieving that deep chocolate flavor, while the candy eyes add a whimsical touch that makes these treats stand out.
How do you make Mini Chocolate Skulls step by step?
Creating mini chocolate skulls involves simple steps, from mixing the ingredients to decorating for a spooky finish. Follow each step for foolproof results.
Step 1 — Preheat and Prepare
Preheat your oven to 350°F (175°C) and grease a mini skull mold with non-stick spray.
Step 2 — Mix Dry Ingredients
In a large mixing bowl, whisk together the flour, cocoa powder, sugar, baking powder, baking soda, and salt until well combined.
You might also enjoy our mini chocolate chip muffins.
Step 3 — Combine Wet Ingredients
Add the softened butter, milk, egg, and vanilla extract to the dry ingredients. Mix until the batter is smooth and well incorporated.
Step 4 — Fold in Chocolate Chips
Fold in the chocolate chips until evenly distributed throughout the batter.
Step 5 — Fill and Bake
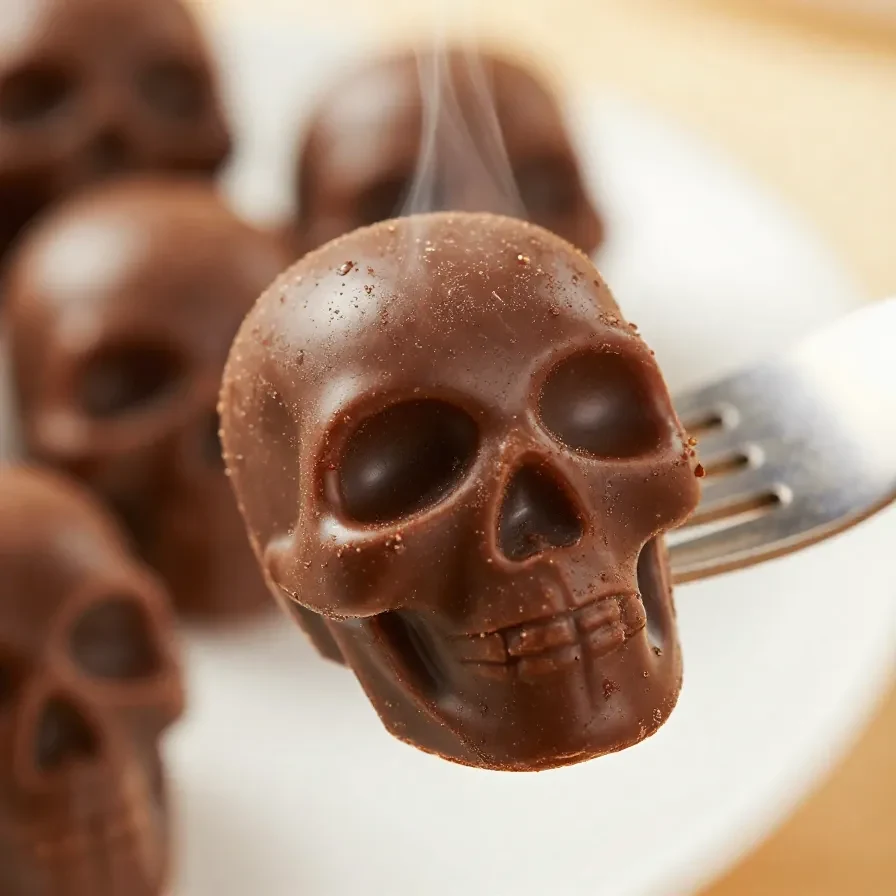
Spoon the batter into the prepared mini skull mold, filling each cavity about three-quarters full. Bake in the preheated oven for 10-12 minutes, or until a toothpick inserted into the center comes out clean.

Step 6 — Cool and Decorate
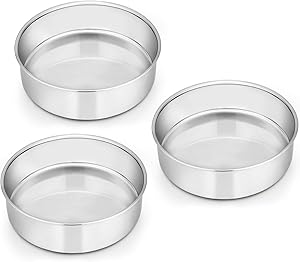
Remove from the oven and let the mini skulls cool in the mold for about 5 minutes before transferring them to a wire rack to cool completely. Once cooled, decorate the mini skulls with candy eyes for a spooky effect.
For more ideas, check out our mini chocolate chip muffins.
Frequently Asked Questions About Mini Chocolate Skulls
Can I use whole wheat flour instead of all-purpose flour?
Yes, but whole wheat flour will make the skulls denser. Adjust the liquid as needed.
What can I use if I don’t have a mini skull mold?
You can use any mini cupcake or muffin mold, but you’ll miss out on the skull shape.
How should I store leftover mini chocolate skulls?
Leftover mini chocolate skulls should be stored in an airtight container at room temperature for up to three days.
Can I freeze mini chocolate skulls?
Yes, these can be frozen for up to 2 months. Thaw at room temperature before serving.
Looking for something similar? Try our halloween mini pizzas.
Expert Tips for Perfect Mini Chocolate Skulls
- Even Mixing: Make sure all dry ingredients are thoroughly mixed to avoid uneven patches in the skulls. This prevents pockets of flour or cocoa from ruining the texture.
- Proper Greasing: Ensure that the skull mold is well-greased to prevent sticking. Non-stick spray is effective, but a thin layer of butter works too.
- Batter Levels: Do not overfill the molds. Keeping the batter at three-quarters full ensures they rise without spilling over.
- Cooling Time: Allow skulls to cool completely before adding candy eyes to prevent melting.
The Origins of Mini Chocolate Skulls
Mini chocolate skulls are a whimsical take on traditional skull imagery often associated with Halloween. This playful adaptation derives from the concept of sugar skulls used during Day of the Dead celebrations, where skulls symbolize the joyful remembrance of loved ones. By combining sweet treats with a spooky design, these mini chocolate skulls capture the essence of festivity and fun.
How to Store and Reheat Mini Chocolate Skulls
To keep your mini chocolate skulls fresh, store them in an airtight container at room temperature for up to three days. For longer storage, place them in a freezer-safe container and freeze for up to two months.
When you’re ready to enjoy them again, simply remove the skulls from the freezer and let them thaw at room temperature. If you prefer them warm, a few seconds in the microwave will do the trick. I learned this technique as it was a hit during our Halloween gatherings with friends.
Mini Chocolate Skulls
Ingredients
Equipment
Method
- Preheat your oven to 350°F (175°C) and grease a mini skull mold with non-stick spray.
- In a large mixing bowl, whisk together the flour, cocoa powder, sugar, baking powder, baking soda, and salt until well combined.
- Add the softened butter, milk, egg, and vanilla extract to the dry ingredients. Mix until the batter is smooth and well incorporated.
- Fold in the chocolate chips until evenly distributed throughout the batter.
- Spoon the batter into the prepared mini skull mold, filling each cavity about three-quarters full.
- Bake in the preheated oven for 10-12 minutes, or until a toothpick inserted into the center comes out clean.
- Remove from the oven and let the mini skulls cool in the mold for about 5 minutes before transferring them to a wire rack to cool completely.
- Once cooled, decorate the mini skulls with candy eyes for a spooky effect.
Notes

Loved this recipe? Save it to your favorite Pinterest board so you can easily find it later! ✨